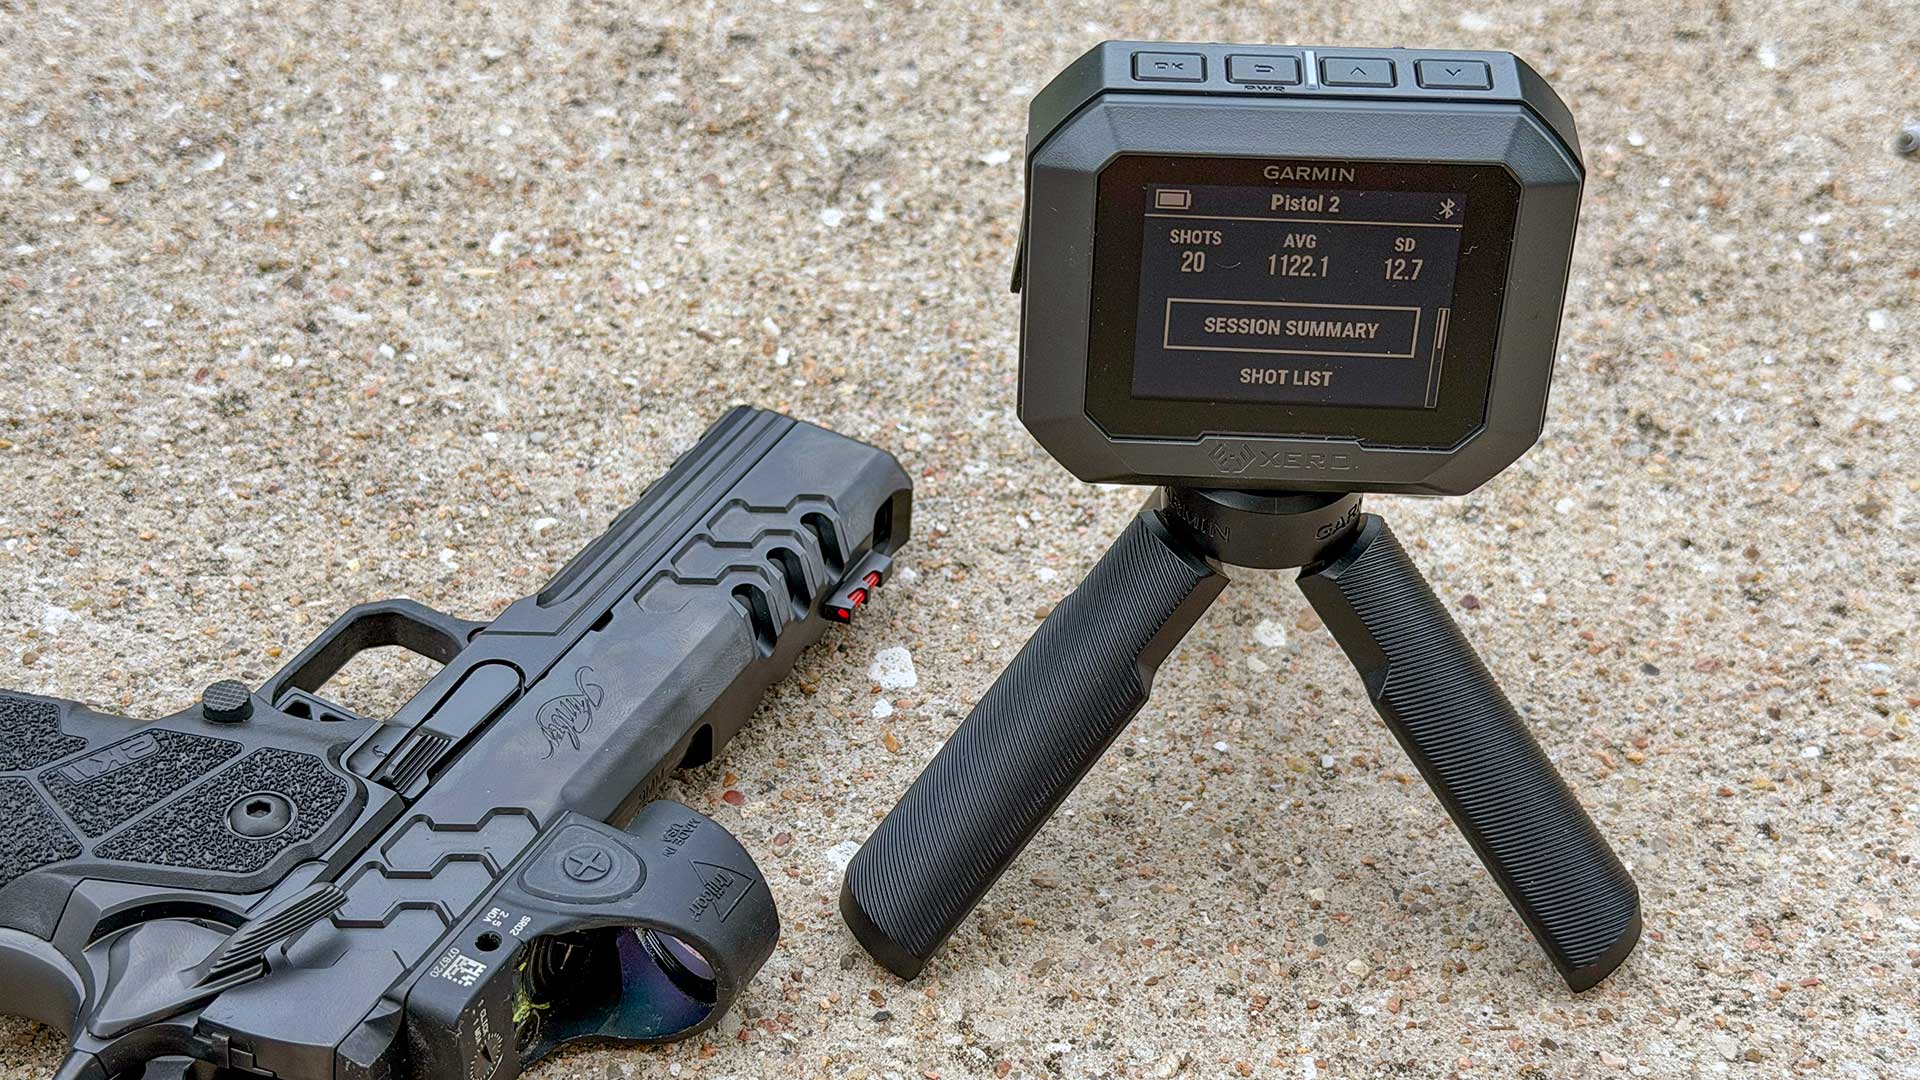
From the September, 1987 issue of The American Rifleman.
In the years immediately following World War II, experimenters had been developing ever more powerful loads for the .44 Spl. cartridge. It was natural that a more powerful counterpart to that round should be developed in the same way that the .357 Mag. evolved from the .38 Spl.
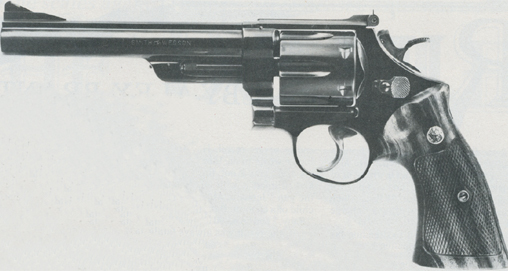
Smith & Wesson and Remington agreed to take the plunge, and on Dec. 29, 1955, the first .44 Mag. revolver was completed. The earliest models were available in blue or nickel finish, with 4” or 6” barrels. S&W was flooded with requests for a long-barreled .44 Mag., and on April 10, 1958, a drawing for an 8 ¾” barrel was completed. Production on the long-barrel version started soon thereafter.
The Model 29 commanded premium prices during the mid-1970s after it was featured in the popular film Dirty Harry, making it among the most popular of S&W’s many revolvers.
Disassembly Instructions
1. First remove the stocks by loosening the stock screw. Leaving the screwdriver in place, push the screw into its hole against the right stock half. This will release that stock without damaging it or scratching the frame. Then invert the gun and remove the left panel by gently tapping with a screwdriver or punch through the frame. Remove the yoke screw (Fig. 1). This is a fitted screw, so keep it separate by placing it in a hole in one of the stock halves.
2. Remove yoke and cylinder by opening the cylinder and placing the gun on its right side. Hold the cylinder in its open position while drawing the yoke forward out of the frame.
3. Insert a dummy cartridge in one of the charge holes to protect the extractor pins, then grasp the extractor rod in a vise (Fig. 2). Now turn the cylinder clockwise to unscrew the extractor rod. Model 29s and other N-frame revolvers made before 1960 have a right-hand thread, so the cylinder should be turned counter-clockwise.
4. Remove round head side-plate screw and flat head side-plate screw. The flat head screw fits under the stocks. Then loosen the side-plate by tapping the side of the backstrap with a nylon hammer. Hold the font of the side-plate to prevent dropping it.
5. The hammer block will likely drop out when you remove the side-plate, as it rides in a slot on the side-plate. If it doesn’t, remove it. Loosen the mainspring strain screw in the frontstrap. Then the foot of the mainspring can be pushed to the right and removed (Fig. 3).
6. Push the thumbpiece bolt to the rear and pull the trigger to its full rearward position. This will cock the hammer. While holding the trigger rearward, lift the hammer straight out of the frame (Fig.4).
7. Remove the rebound slide and spring by raising the slide halfway up on the stud with a screwdriver (Fig. 5). Change the position of the screwdriver to the flat edge and push in on the spring. Allow the spring to release slowly. Note that the screwdriver and finger prevent the spring from flying off.
8. To remove the trigger and hand, use the left index finger to hold the hand out of the slot in the frame while the thumb and middle finger of the right hand lift the trigger straight off the trigger pin (Fig. 6).
9. Push the cylinder stop down from the top, then use a drift pin to hold it down while the screwdriver lifts it straight up off its pin. (Fig. 7). Be careful to keep the spring from flying off. The adjustable sight can be removed by removing the screw at the front of the sight leaf and sliding the assembly to the rear.
10. Reassemble in reverse order. Be sure the trigger lever is inside the frame and can be inserted into the front of the rebound slide assembly. Hold the trigger rearward when installing the hammer. Hook the top of the mainspring on the hammer stirrup first (Fig. 8), then slide its foot into the frame and tighten the strain screw. Be sure the hammer block is in its “up” position. Install the side-plate front and top undercuts first, then seat it by tapping lightly with a nylon hammer on the screw holes.