Aligning your sights to where your bullets are hitting the target is one of the fundamental skills of marksmanship. Depending on how many rifle and sight combinations you acquire during your lifetime, you may have to perform this task anywhere from a half a dozen to several hundreds of times. Though there are shortcuts for this procedure, most have weaknesses that may not always be valid. I've discovered this tried-and-true method that always works and doesn't take up too much valuable time or ammo.
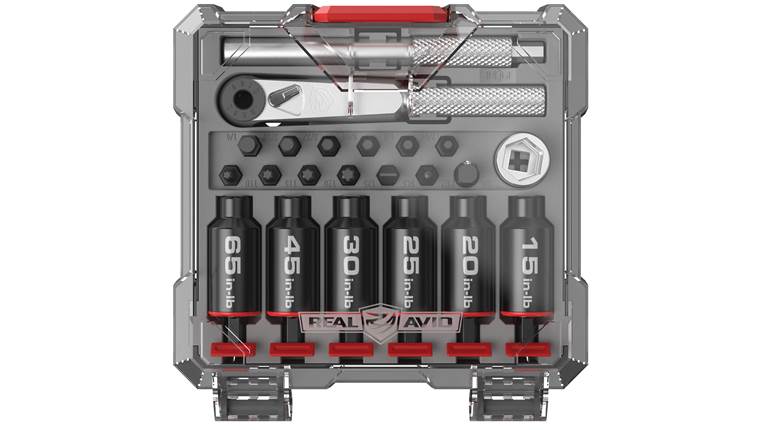
Whether you are putting together a new rifle/scope combination or changing to a different load, the very first thing to do is check and ensure that all of the screws holding the scope to the rifle are tight. Grab the scope and try to move it. If there is any motion whatsoever, something is loose. Even if nothing feels loose, it's a good idea to verify each screw is tightened properly. This is no time for brute force, though. These are small screws and it's easy to break off a head with too much force. An inch-pound torque wrench is ideal; base screws should be torqued to 30 in.-lbs., aluminum scope rings 10 to 15 in.-lbs., and steel rings 15 to 20 in.-lbs. No torque wrench? Just make sure they're firmly tight.
A bore-sighting tool may help save a few rounds, and most shops will do that for you if they mount the scope. If you mounted it and don't have access to a collimator (bore-sighting tool), simply put the rifle on the rest at the range, remove the bolt and center your target in the bore at 100 yards. Now, without moving the rifle, adjust the crosshair to the center of your target. Your shots should be somewhere on the paper. Start with a large paper or cardboard backer to catch all of your shots.
I usually make my first adjustments at 25 yards. For one thing, it's almost impossible to miss the paper at that range, and if it's necessary to make large adjustments-anything more than four inches of elevation and/or windage-I'd rather get those out of the way at the shorter range. Remember that the value of each click on your scope is measured at 100 yards. At 25 yards you'll have to multiply that by four. Say, for example, your first shots at 25 yards are two inches low and three inches right and your scope adjustments yield 1/4 inch at 100 yards. To center the group at 25 yards you will have to move the scope 32 clicks up and 48 clicks in the direction you want your bullets to go. Scope adjustments are not always exact, and especially with new scopes, it may take a couple of tries to get it exactly where you want it. When you make an adjustment, tap (do not beat) the turret with something that will not mar it—like the plastic handle of a screwdriver—to ensure the reticle moves the intended amount.
Once you are centered at 25 yards, it's time to move back to 100. Here is where you'll fine tune your sighting. Carefully fire three shots. Take as much time as you need because you want each shot to be fired with the exact same hold. Depending on your shooting skills and your rifle's accuracy, there should be three holes no more than 1 1/2 inches apart on the target. If the group is larger than 1 1/2 inches, either something is loose within your rifle, or you need to work on your shooting skills. The center of those three shots is the where your rifle is sighted, and it is from there that you adjust the reticle (this time using the values printed on the scope turret) to place your group where you want it at 100 yards.
Many variables affect how you sight in a hunting rifle, but for my purposes in Western game, I typically sight them in to be 2 1/2 to 3 inches high at 100 yards. Cartridges such as the .270 Winchester, .308 Winchester and .30-06 are sighted to be 3 inches high at 100, thereby putting them dead-on at 225 to 250 yards, depending upon the load. For cartridges like the 7mm Remington Magnum, .270 WSM or .300 mags, I usually set them at 2 1/2 inches high at 100. They are then on at 250 to 300 yards, again, depending upon the load. I'll explain the reasoning behind this in an upcoming article on real-world drops.


