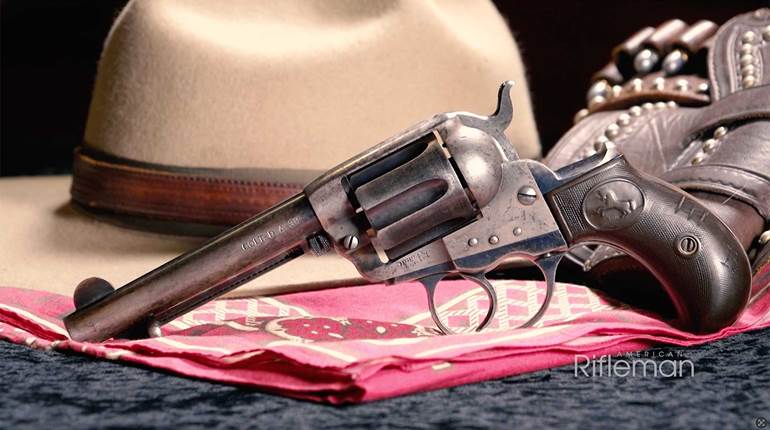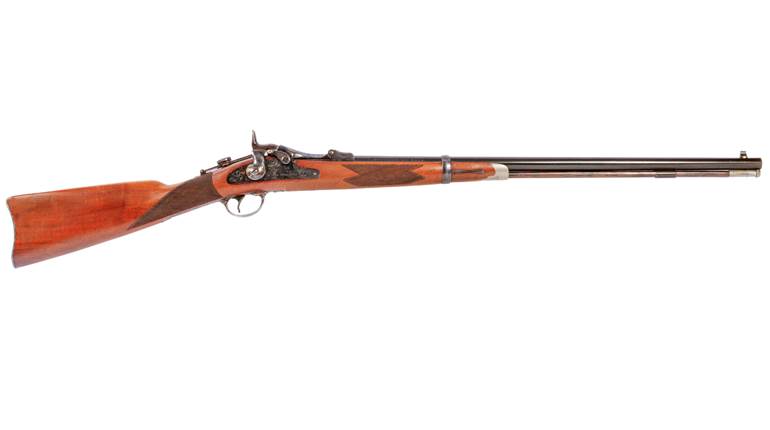
Last year, I discovered that Heritage Rough Rider rimfire revolvers can be great little at-home project guns. They are among the most affordably priced revolvers available. They are also rugged, reliable and mechanically simple to customize. Grips have always been easy to swap out on revolvers. But the Rough Riders are the only wheel guns that I'm aware of that use drop-in components. Most revolvers require professional gunsmithing or factory fitted caliber-conversion cylinders. The company offers an impressive selection of additional parts including custom cylinders, caliber-conversion cylinders and grip frames that are as budget friendly as the guns themselves.
Back in 2019, Heritage released the eye-catching Rough Rider Long Barrel model which was likely inspired by the similarly stretched Colt 1873 Buntline. In 2020, Heritage followed up the Long Barrel with what was dubbed the Rough Rider Rancher Carbine. As of this writing, the company offers two versions of this carbine. The 'basic' model (BR226B16) is a six-shot .22 LR with the same fixed sights as the Long Barrel revolver and a checkered walnut stock. The dressed up version of the carbine (BR226B16HS-LS) has three upgrades: an adjustable buckhorn rear sight, a set of sling mounts and a plain leather sling.
But my guess is that some of the folks who purchased the Long Barrel wished they had waited for the carbine. Not too long ago, Heritage started offering the components needed to convert the Long Barrel handgun into a Rancher carbine on the shopheritagemfg.com website along with their in-house custom cylinders, grips and replacement parts.
I was interested to see if a Long Barrel handgun conversion into a Rancher carbine would go as smoothly as the previous Heritage revolver projects I worked on.
On the other hand, doesn't attaching a shoulder stock to a handgun convert it into a Short-Barreled Rifle (SBR) that must be registered as an NFA firearm? Yes, in most cases, it does. However, if the handgun in question has a factory installed barrel that is at least 16" long and the gun will have an overall length of 26" or more once the stock is installed, then the handgun-to-carbine conversion does not fall under NFA regulations.

The Rough Rider Long Barrel model has a 16.125" barrel and an overall length of 32" with a carbine shoulder stock in place. As things stand right now, there are no Federal-level legal issues I'm aware of with this at-home project. But to be perfectly clear, attaching the Heritage carbine shoulder stock to another Rough Rider revolver with a shorter barrel is illegal unless that gun has already been properly registered with the ATF as an SBR prior to attaching the stock. As always, be sure to check your local regulations before starting a gun modification project like this one.
Base Gun & Components
The build conducted here will result in a kind of a hybrid configuration of the Rancher with the simpler sight system of the basic model and the shoulder sling of the gussied up version. It will also include a couple of engraved cylinders and one after market kit to spice things up a bit.

The base gun for this conversion is the Long Barrel model that ships with a plain .22 LR cylinder and smooth cocobolo wood grips (RR22B16). This revolver is also available with a second plain .22 Mag. conversion cylinder (RR22MB16).

The three components that make up the shoulder stock assembly are sold separately. The aluminum alloy Rancher backstrap assembly (355-0001-00) replaces the plowshare grip frame assembly, including the hammer spring. The walnut shoulder stock ships cut, shaped and ready to install including a pre-drilled and recessed port for a sling swivel screw along with a polymer butt plate secured with two Philips-head screws. The stock shown here has a dark, matte finish with a checkered grip (367-0004-00). The company also offers unfinished stocks and two with decoratively engraved patriotic themes. The long stock screw (332-0009-00) comes with a lock washer.

The two customized cylinders requested for this build include a #2 Heritage scroll work engraved fluted .22 LR (331-0001-11) and an unfluted .22 Mag. with Longhorn Skulls (331-0002-06). The cylinder’s caliber is stamped on the side between the engravings. Heritage offers two tan, full-grain leather shoulder slings outfitted with handsome brass fittings for this carbine, both of which are made by
The Hunter Company. Customers can choose from the Military Style 1" sling or the model shown here, which is the wider Cartridge Sling with a set of loops to hold up to 25-rounds of .22 LR or .22 Mag. These slings do not include swivels.

The only components I had to look for outside of the Heritage catalog was the sling mounting kit. It turns out that the Uncle Mike's QD Quick Detachable Super Swivel kit for 1" slings (1391-2) was just what I was looking for. The rear sling stud is a 1/2" screw that fits the port in the shoulder stock. The front mount is a two-piece clamp designed to fit around lever-action rifle magazine tubes with diameters ranging from .630" to .675" in size. The Rough Rider's barrel had an average diameter of .660" so this clamp-mount was a perfect fit. This kit also includes a pair of 1" swivels which will fit either Hunter sling.
Assembly
The Heritage Long Barrel revolver to Rancher carbine conversion is a simple, table-top build. Only a simple set of tools is required, including two sizes of standard screw drivers, a Philips screw driver and a socket wrench with a ½" socket and extension bar. A flattened towel, shop rag or small container will come in handy for managing the small parts. A gun vice is helpful if you have one, but I got by just fine without one for this project.

The conversion begins with verifying that the revolver is completely unloaded. Release and remove the cylinder from the receiver. Remove the grip panels by loosening the grip screw. The grip stabilizer pin, at the base of the frame, and the hammer spring can be stored in the grip frame.

Next, remove the five grip frame screws using two sizes of standard screw drivers. Two are located behind the hammer, two more behind the trigger and one slightly larger screw is found in front of the trigger guard. Remember that the grip frame is under pressure from the hammer spring. It’s easier to remove the three trigger guard screws first, then, while holding the grip frame against the receiver with your support hand, loosen and remove the two upper screws.

As the grip frame is lifted away from the receiver, watch for the loading gate spring and detent to the right of the trigger. They may stay in place or drop out. These parts can be left in place while swapping out grip frames. I left them in place this time around but if you want to make sure they don't get dropped and lost, go ahead and remove the spring, detent and loading gate from the receiver.

The carbine shoulder backstrap is installed just like a grip frame. Reinstall the loading gate, detent and loading gate spring if they were removed. Slip the backstrap into place with the hammer spring engaging the hammer. While squeezing the backstrap against the receiver with one hand, install the top two screws. Don't tighten them down all the way just yet. Next, install the three trigger guard screws most of the way. Once all five screws are in place and the backstrap appears to be properly aligned, go ahead and tighten up all five screws. Be careful not to over tighten. The steel screws will strip out the aluminum screw ports with too much pressure.

When checked to see if it fit, the walnut shoulder stock slipped onto the backstrap, nice and snug, without any wrestling, force or fitting required. Installing the carbine stock requires the removal of the polymer butt plate. Just loosen the two Philips-head screws. Make sure the locking washer is in place on the stock screw before pressing it into the stock.
Folks have different approaches to installing long stock screws, but here is how I went about it since I wasn't using a gun vice. The socket wrench was fitted with a 1/2" socket supported by a 4" extension bar. The 4" extension was just barely long enough to get the job done, but a 6" extension would have been better to ensure the wrench handle does not come into contact with the walnut stock.

The stock screw was pressed into the stock, using the socket assembly, until the screw's threaded end was visibly protruding from the port in the checkered grip. With the screw in this position, the stock was pressed onto the backstrap and tightened. The butt plate was then reinstalled.
The rear Uncle Mike's sling mount stud screw fits with the white rubber gasket provided in the kit and twisted into place using the provided Allen key. The front clamp mount is secured with a pair of provided screws. It was placed about 1" in front of the ejector housing which leaves just enough of a gap to operate the ejector. The sling swivels slipped onto the leather shoulder sling without a hitch.

The last step was to re-install the cylinder. In this case, the rifle was fitted with the scroll work engraved .22 LR cylinder which adds a nice decorative touch. All of the steps are pretty straight forward, so the modifications only take about an hour (or less) after the work space, tools and components are laid out and ready to go.
Wrapping Up
I'm happy to report that this Heritage at-home build project went just as smoothly as the last one. All of the parts arrived in good shape, ready to use and fit together properly without any breakages or the need for substitutions. The customized Rough Rider Rancher passed all of its bench checks without any mechanical problems. I'm looking forward to taking it out for a bit of relaxing plinking at the range with a particular interest in seeing what it can do using a .22 Mag. conversion cylinder.

To see a factory assembled .22 LR Rough Rider Rancher Carbine in action, follow this link to read a full review.
At-Home Build Components & Kits:
Gun Manufacturer: Heritage Manufacturing, Inc.
Component Provider: shopheritagemfg.com
Base Gun: Heritage Rough Rider 16.125" Barrel, .22 LR Cylinder, Cocobolo Grips (RR22B16) $202.38
Backstrap Assembly: Rancher (355-0001-00) $29.99
Shoulder Stock: Walnut Rancher Carbine with Polymer Butt Plate (367-0004-00) $64.99
Stock Screw & Lock Washer Set: Rancher (332-0009-00) $3.99
Engraved Cylinder: .22 LR #2 Heritage Floral (331-0001-11) $34.99
Engraved Cylinder: .22 WMR Longhorn Skull (331-0002-06) $38.99
Shoulder Sling: Hunter Leather Co. .22 Caliber Rifle Cartridge Sling (027-199H) $49.99
Sling Mount & Swivel Kit: Uncle Mike's QD Quick Detachable Super Swivel, 1" Slings,(1391-2) $16.95


