Although the custom rifle was mechanically complete and functioning properly, it was in need of refinishing for two reasons. First, the assembly process leaves some bare patches of metal that will be susceptible to rust if left untreated. Second, the mixing of components from different manufacturers resulted in differing finishes that ranged from a soft matte black to a high-polished blue, making the rifle look like a mutt.
MOD Outfitters outsources their finishing work to Rod Backus at the Park City Gun Club, which is just down the road from their shop. Rod provides High Temperature Cerakote ceramic coating services for gunsmiths and customers alike. He spent a morning walking me through the process.
The first order of business is to disassemble the rifle and identify which parts will be Cerakoted. The components are degreased and wiped down. Small parts are wired together to make it easier to spray them and hang them in the kiln.


Any rough spots on the exterior are smoothed with fine sandpaper and cleaned to remove any grit or debris. Both ends of the barrel are fitted with heat resistant silicon plugs. The plugs protect the chamber and the bore from the sandblasting and coating process. 

The components are then sandblasted to remove the old finish and prepare the exterior surfaces for the Cerakote. When the sandblasting is complete any remaining dust is removed with compressed air. 

The H Series formulation of Cerakote is one of the most durable standard options. Among the most popular colors for modern sporting rifles is the H-146 Graphite Black. It provides a smooth, matte finish that looks great with either wood or polymer furniture. The Cerakote base is mixed with a hardening agent and poured through a filter into a sprayer. 
After applying two thin coats, the parts are placed into an industrial kiln for a few hours to cure. 
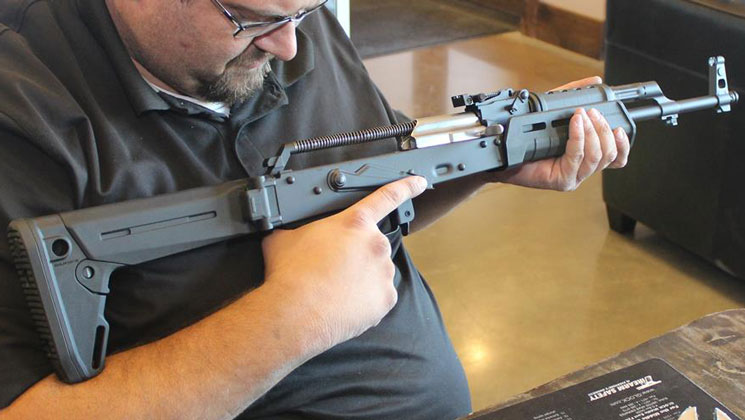
After the parts cool, the wires are removed and each component is examined to make sure the coating is smooth and consistent. The rifle is reassembled using the polymer Magpul accessories instead of the original wood. The custom AK was finally complete and ready to take home.
Continue Reading "Build Your Own AK":
Build Your Own AK-47: Introduction
Build Your Own AK-47: Part 1--Selecting Components
Build Your Own AK-47: Part 2--Populating the Barrel
Build Your Own AK-47: Part 3--Populating a Factory-Built Receiver
Build Your Own AK-47: Part 4--Bending and Welding a Receiver Flat
Build Your Own AK-47: Part 5--Refinishing and Reassembly
Build Your Own AK-47: Part 6--At the Range
Build Your Own AK-47: Conclusion