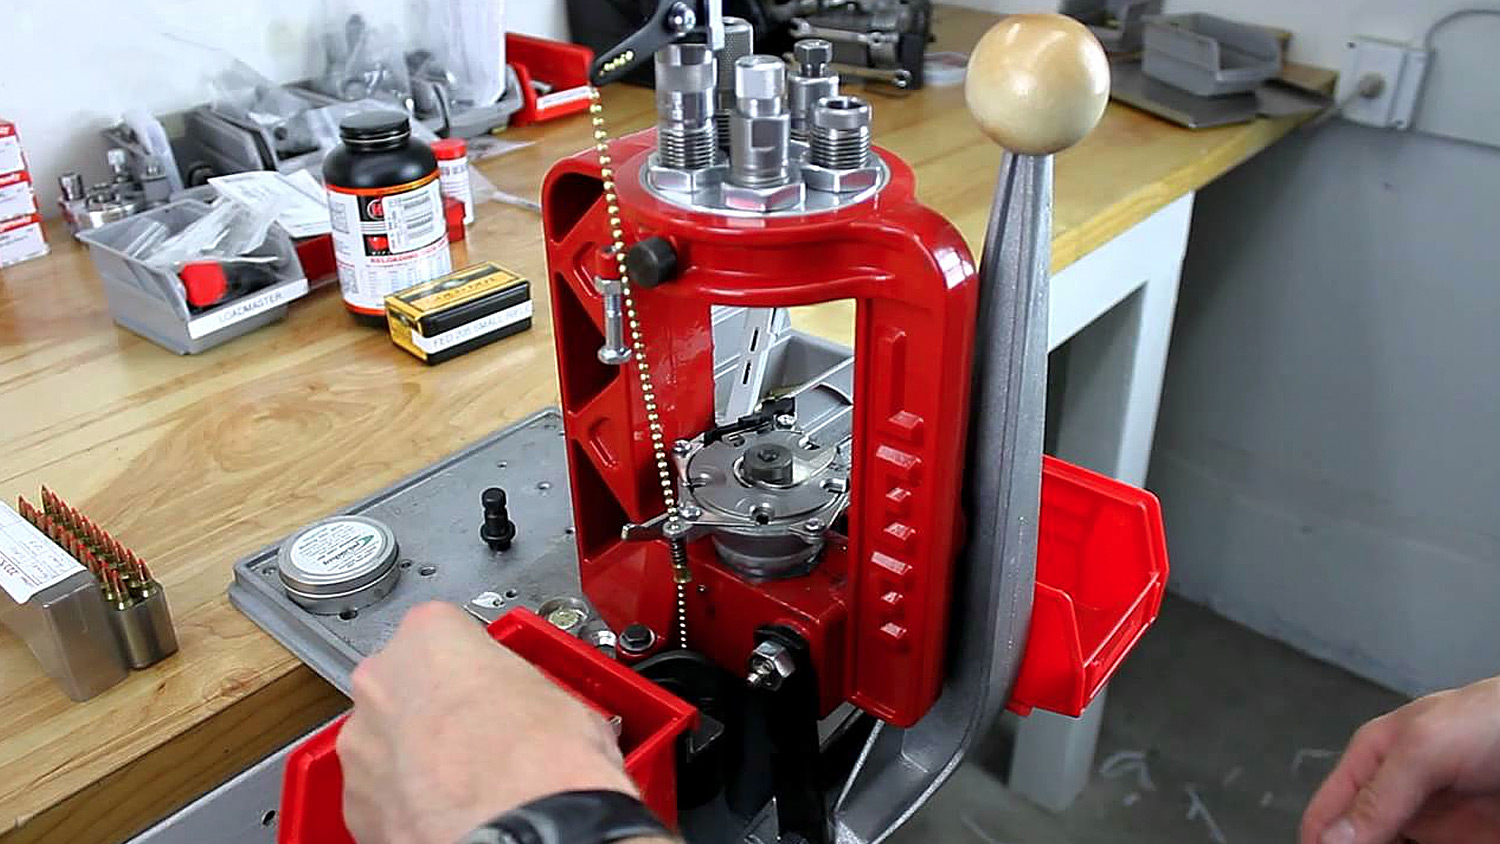
The elements of shooting are all about consistency. Sight picture, trigger control and how the firearm is held should be as close to identical from shot to shot if predictable shot placement is to occur. This is equally true when it comes to your ammunition. One of the reasons many shooters load their own ammo is to put together a load that works with the harmonics of their particular firearm, and then produce a quantity of identical cartridges.
Much of the handloading process focuses on the cartridge case. The reason for this is that the case is the only non-consumable component in a cartridge. With all attention given to the case, there are numerous sub-processes that may be forgotten or inconsistently performed.
Keeping that in mind, here are 10 tips to make your handloads perform better. Most do focus on the cartridge case and may seem trivial. But after handloading nearly all of my own ammo for some 44 years, I have seen these caveats breached and observed the consequences.
1. Check, measure, trim if necessary, and size virgin brass.
Sometime around 1980 a friend who owned a gun shop decided to put together some 7 mm Rem. Mag. ammunition for an elk hunt and used virgin brass from Remington. He merrily grabbed shiny new brass cases from the bag, primed them, charged them and then seated his elk-slaying bullets. A couple of weeks later he loaded the magazine of his rifle in the dark of opening morning, but when he tried to chamber a case, he could not close the bolt. He had forty rounds of useless ammo in his pack on the opening morning of elk season.
I have found a few—very few—virgin cases that did not get their flash hole punched. It isn’t unusual to find as much as 10 percent of new brass longer than the maximum length allowed. If I find even one case too long, the whole batch goes to the trimmer so I know I am starting with in-spec cases. Even if I do not have to trim the new cases, I deburr the case mouths to ensure ease of bullet seating and consistent bullet pull. And, yes, every case makes a trip through my resizing die. It’s all about consistency.
2. Tumble your cases every time you load them.
Tumbling cases removes the dirt and corrosion that just goes with the territory. Depending on the tumbling media and additives you use, tumbled cases come out not only clean but with a slickness that causes a lubricating effect. That makes them easier to chamber. My goal is to produce handloads that are indistinguishable from factory ammo in terms of functioning.
3. If your necks crack after just a couple of loadings, try annealing them.
Brass hardens and becomes brittle as it is worked. There’s are myriad reasons that can cause premature neck failure, but there is but one way to prevent it—annealing. Case necks can be annealed with a simple propane torch and pan with water, or you can invest $500 on a motorized tool that rotates cases in a fixture with multiple torch nozzles to ensure a thorough, even heating. I rarely do this except for the .45-90 Sharps cartridges because they need annealing to help sealing the breech against gas escape. However, I don’t have problems with premature neck failure in my other centerfire firearms. If you do, annealing is the only remedy I am aware of.
4. When dropping charges within a grain or two of maximum, trickle and weigh each charge.
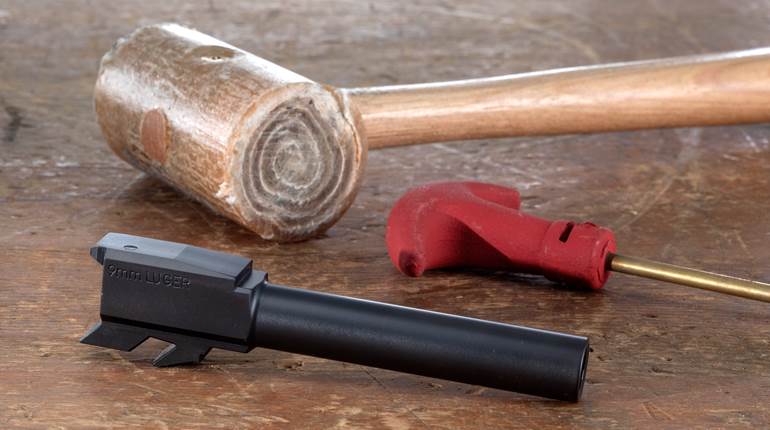
There are those who claim they can operate a volumetric powder measure with such reliability that each charges is with 0.2 grain of any other charge. I am not one of them. When I am loading hunting ammo, it is usually within a grain or two of maximum. Not only do I want to ensure each cartridge is charged identically, I do not want to risk overcharging a case and firing what amounts to be a proof load when I am hunting. One time, some three-plus decades ago, a companion touched off his .25-06 Rem. with a load that he had accidentally overcharged. When he tried to extract the empty case the bolt was seized shut. We eventually got it open back at the shop with some vigorous blows of a rawhide hammer. If, like me, you are a mere mortal, trickle and weigh each charge.
5. When deburring case mouths, use a 22.5-degree or VLD deburring tool.
Most deburring tools are made with a 45-degree lead. While that will deburr the internal diameter of a case mouth, a 22.5-degree tool cuts a deeper, more progressive angle that functions like a funnel when seating bullets. I get fewer collapsed necks using this tool. A caveat: Don’t try to make the case mouth a cutter. It removes too much brass and contributes to premature failure—and annealing won’t fix that.
6. Dies need cleaning too.
Take a look inside your reloading dies after you have finished loading 300 or 400 rounds. There will be a bunch of junk in them—a lot more if you are using cast lead bullets. The gunk will build up and eventually change the dimensions that your sizing dies does or scratch the cases—or the die—possibly ruining it. Most of my dies are made by RCBS, and they used to stamp the year of manufacture on their dies. I have dies date 1973 that are still in the condition they were when shipped from Oroville, Calif. Dies are an investment, so if you want to conserve your investment, keep ’em clean. I usually spray them with brake cleaner, run a patch through them and then put a light coat of Ballistol on them for rust prevention.
7. Each time you trim your cases, check them for stretch.
Another story from decades past: A customer of the gun shop I worked in liked to shoot his reloads until the case separated. He said that he knows then that he got all the life the case had to offer. One day a case separated in his Garand. Problem was, the head exited the rifle but the remainder of the case was stuck fast in the chamber. It cost him $25 to have me extract the remainder of that case. The reason you occasionally need to trim your cases is because during firing brass flows forward from just ahead of the web at the head of the case. Relatively long sloping cases—like the .30-30 WCF and the .300 H&H Magnum—are more prone to this than others. Eventually, the case will separate at that point. Take a paper clip and straighten it out. With a needle-nose plier, bend a small 90-degree at one end, no more than about 3/32 of an inch. Use it as a feeler gauge in your trimmed cases. The first time you trim them you will probably feel just a little dip immediately forward of the bottom of the case. By the time you trim it a second or third time the dip will be more pronounced. That’s when the case goes into the scrap bucket.
8. Visually check each case in the loading block to ensure it is properly charged before seating bullets.
Most instructions for handloading state this, but it is surprising how few actually take the extra moment to verify that each case has the correct amount of propellant in it. One time one of my oldest friends brought his early post-war Smith & Wesson M&P revolver to me, telling me that the cylinder quit turning while he was at the range. I picked it up and looked at the barrel-cylinder gap and could not see any light. We made a bet that he had failed to charge that case with propellant. I drove the wadcutter back into the cylinder with a wood dowel, opened the cylinder and extracted the case—no propellant, and he had to buy me lunch. It takes just a moment to verify that each case is properly charged. In light loads, also check to make sure you did not double charge a case. Each case should be filled to the same level with propellant. And, by the way, that old friend has gone to his reward, and that near mint M&P is in my collection.
9. Determine the maximum cartridge overall length (COAL).
Usually this refers to rifles, but if you like super-heavy (read long) bullets in your revolver, the cylinder length will determine the maximum COAL. With rifles, the magazine may be your limiting factor, but here’s how to determine maximum COAL. Take a fired case and a new bullet that you are planning to use. With a plier, gently squeeze the case mouth so that it will lightly grip the bullet. Carefully start a bullet in the case and insert it into the chamber and gently close the bolt. Again, being gentle, slowly extract the case with the bullet but remove it before the ejector tosses it out of the rifle. Measure the COAL with a caliper. That should be the maximum—where the bullet is just touching the rifling. Target shooters often like to shoot with their bullets touching the lands, claiming they get a bit more accuracy that way. Hunters would be well advised to seat their bullets at least 0.005 to 0.010” further into the case to avoid sticking a bullet in the barrel when they have to clear their rifle at the end of a day.
10. Run each new handload through your rifle before leaving for the hunt.
Earlier we saw where a buddy failed to properly size his cases before the hunt and the consequences he endured. It takes just a couple of minutes to do this. Find a safe place where if a round were to let go, no one would be hurt. Load the magazine with your new handloads and cycle each one through the rifle. If your rifle has a three-position safety like the Model 70 Winchester or its derivatives, put it in the middle position so that the firing pin cannot fall but you can operate the bolt. The time to solve a potential feeding problem is before you leave on your hunt.
None of these tips are earth-shattering; many are standard operating procedures for the old hands and are stated in most of the handloading manuals. But people forget or get in a hurry. That’s when Murphy raises his ugly head.


